Hilbert Curve Coffee Table
Assembly
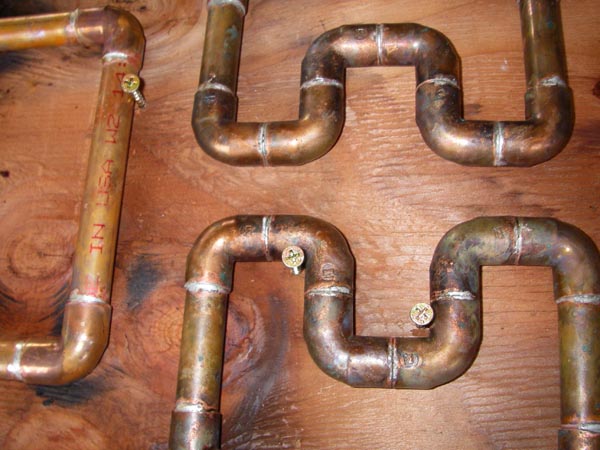
Screws to hold the sections in place
With the sections pieced together, it was time to assemble it. First the top: I got a large piece of plywood, arranged the 6 sections on it (after disembiggening the level 2 sections) and got them to line up.
Then I fluxed the remaining joints, screwed them down in place to keep the alignment, and soldered them. The plywood smoked and charred a bit, but didn't burn too much.
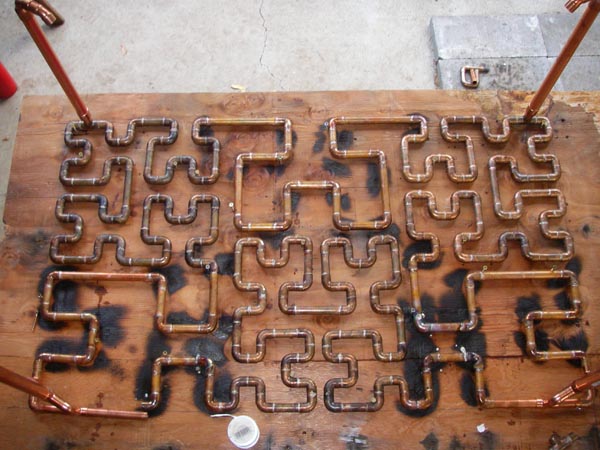
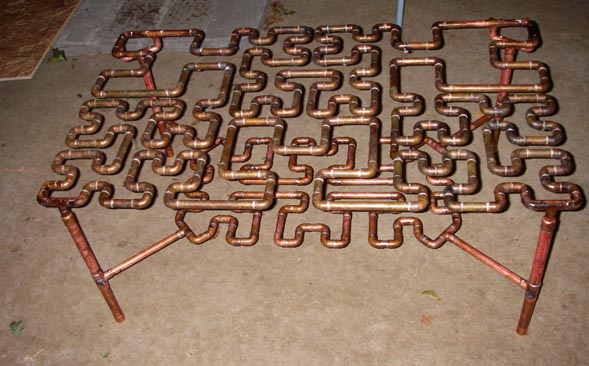
Here's what it looked like after soldering most of the sections together, with the leg assemblies put in (but not yet soldered). You can see how the table was narrowed by adjusting the level 2 sections so it's no longer a strict checkerboard pattern.
Put away for 2 weeks while I was in San Francisco.
The shelf is a
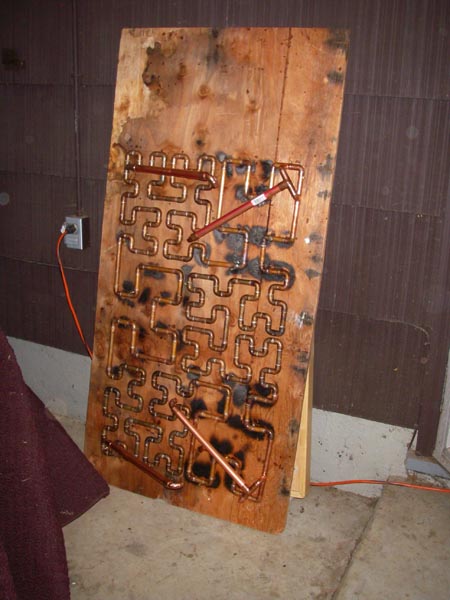
After the moore shelf was soldered, the board it was soldered on looked like this:
Now it's time to get the legs attached. To make this happen I built a little two-level jig that held the shelf above the table top. It didn't have to be the same height as the shelf, just high enough to get the leg joints soldered at 90 degree angles. Then I fluxed & soldered them.
Jig to layout & build shelf.
Another view of the two-level jig.
And a detail of the leg assembly.
Once the shelf was soldered and the leg joints were soldered, I put in the correct-length tubes for the legs, turned it over, and did the final soldering.
Hilbert Curve Coffee table takes its first steps.
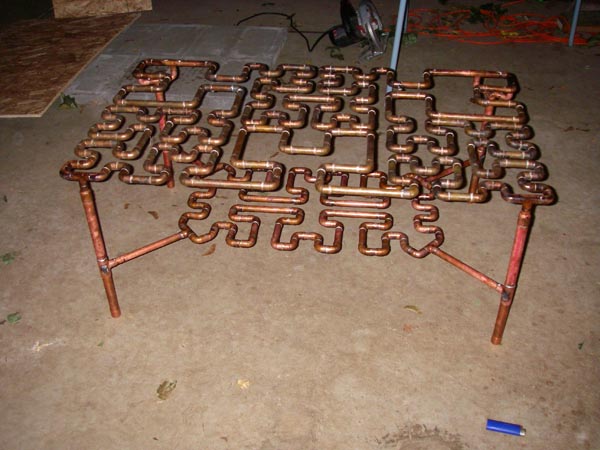
Another view.
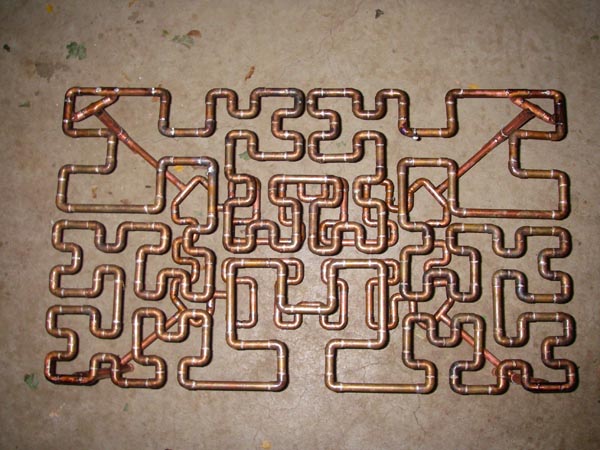
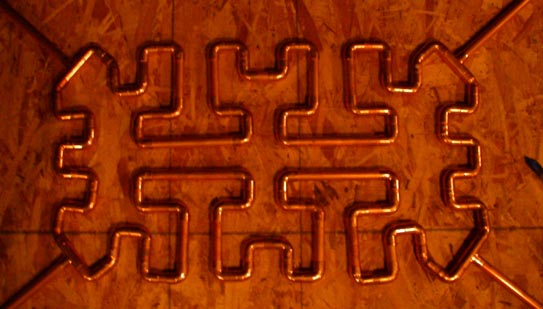
Looking at it from straight up,
you can see the interaction of the
Hilbert & Moore curves.
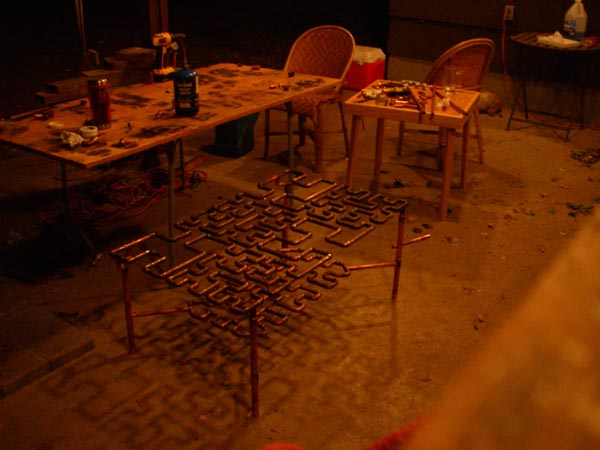
In the night porch studio (1:40am!)
After that, I spent most of the next day cleaning it with brasso & scrubbers before delivering it to the gallery that evening for a show in 2 days. (Sorry, no pics).